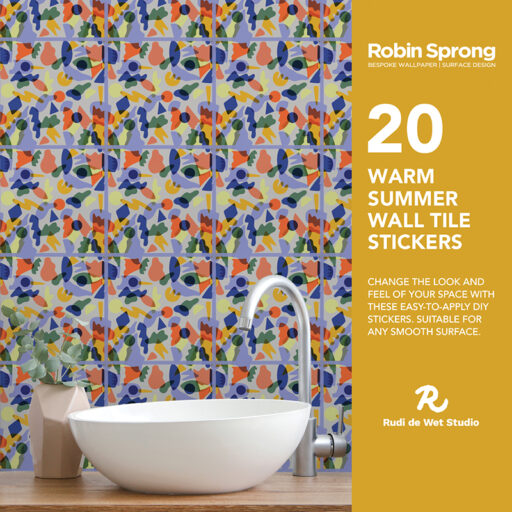
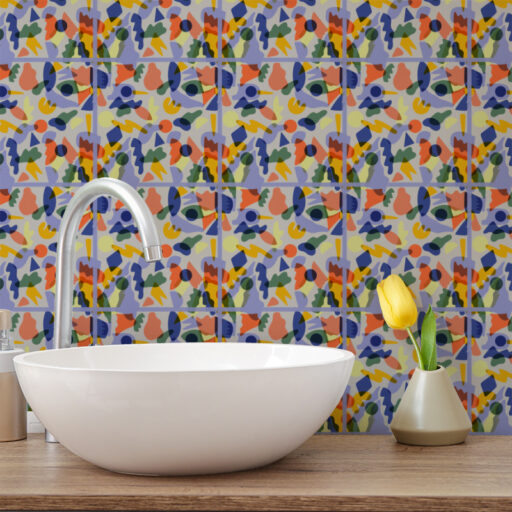
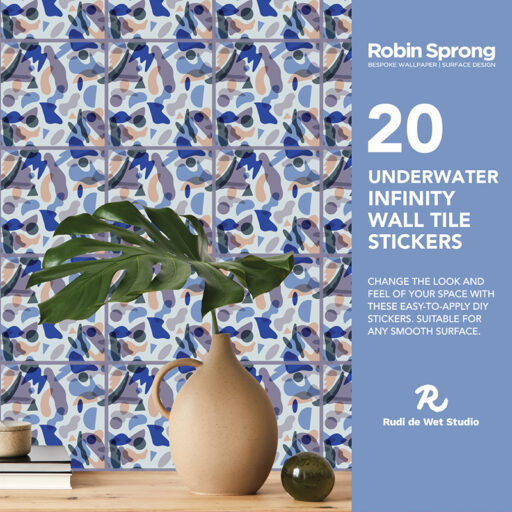
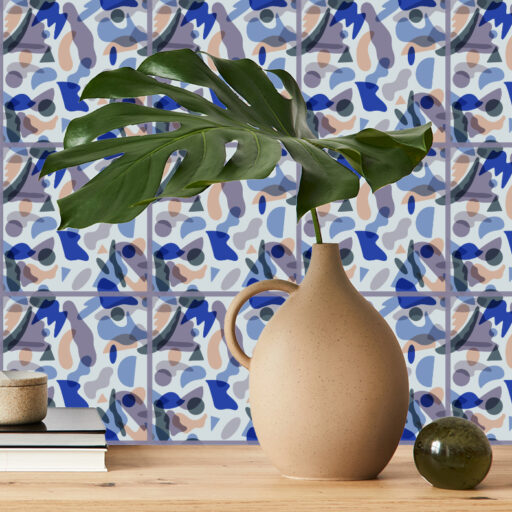
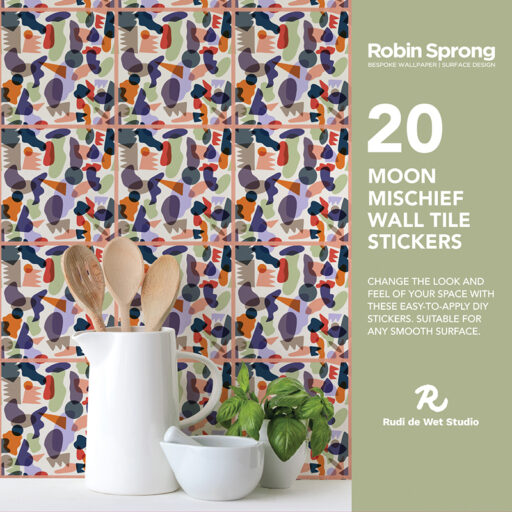
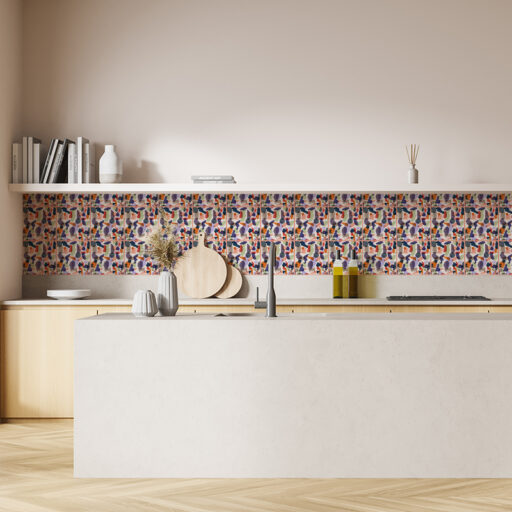
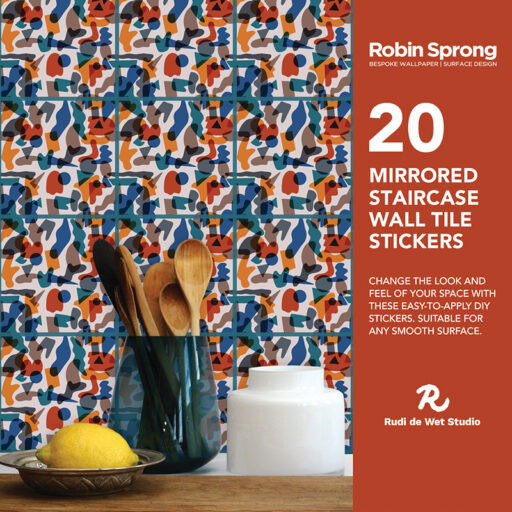
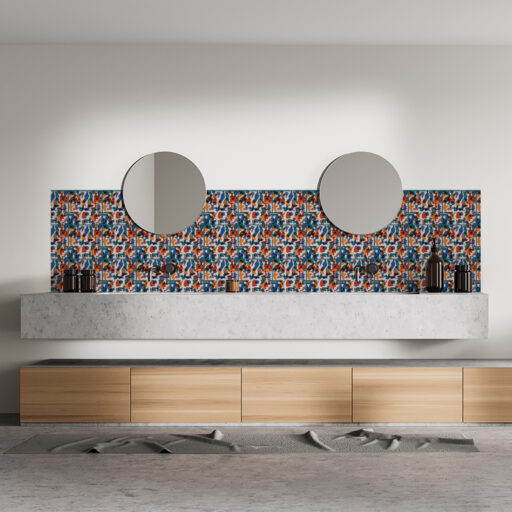
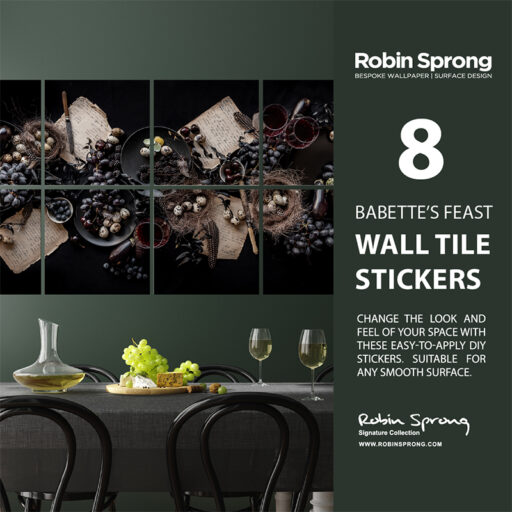
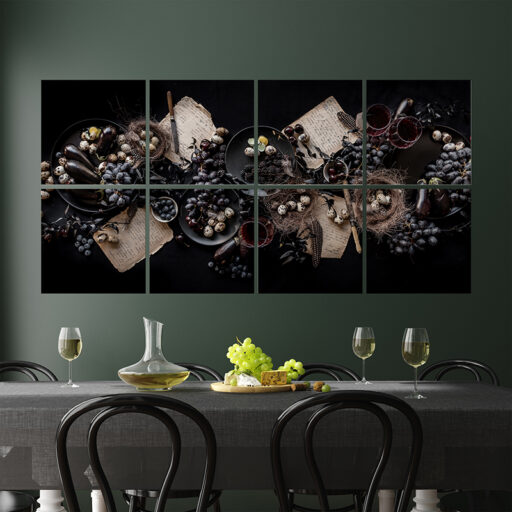
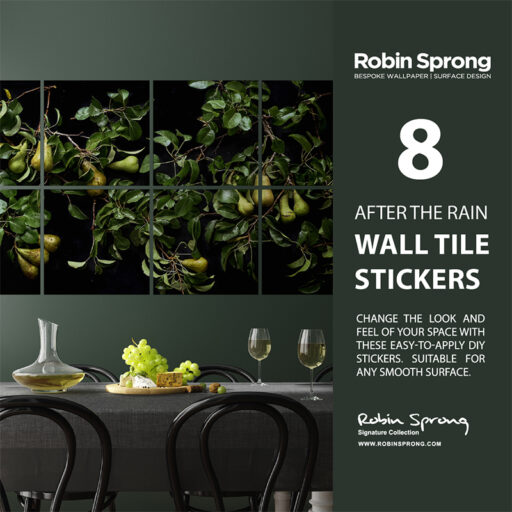
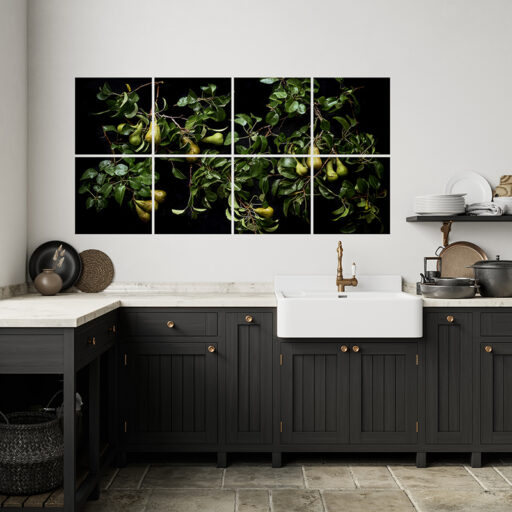
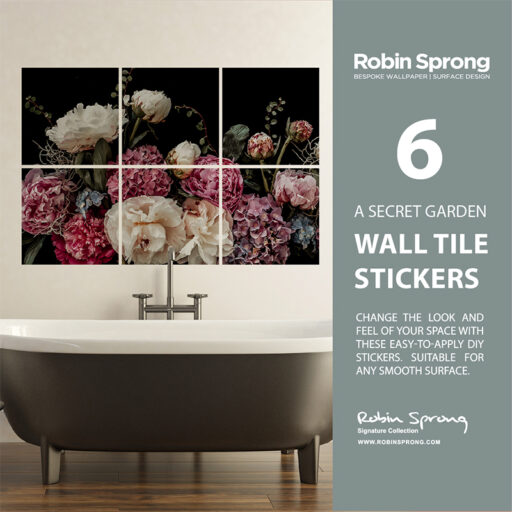
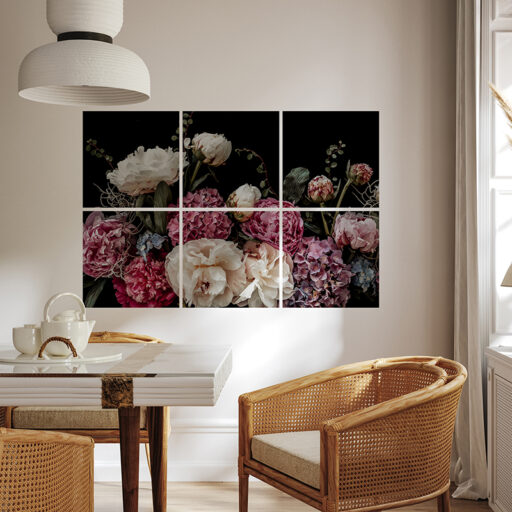
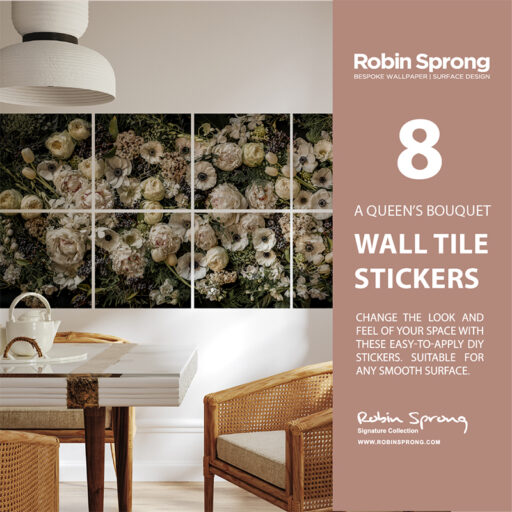
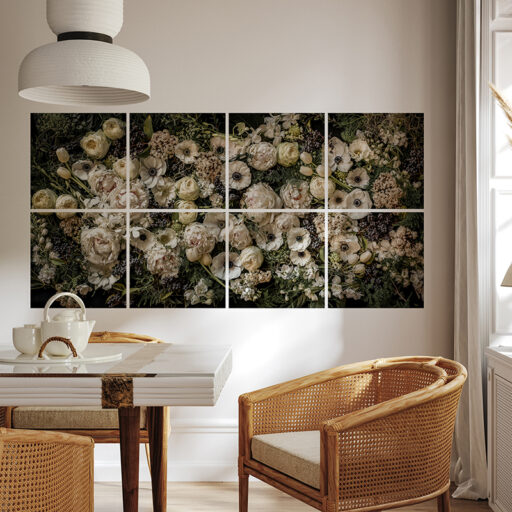
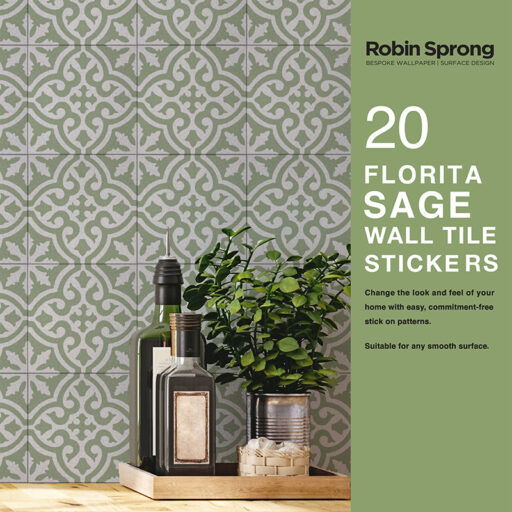
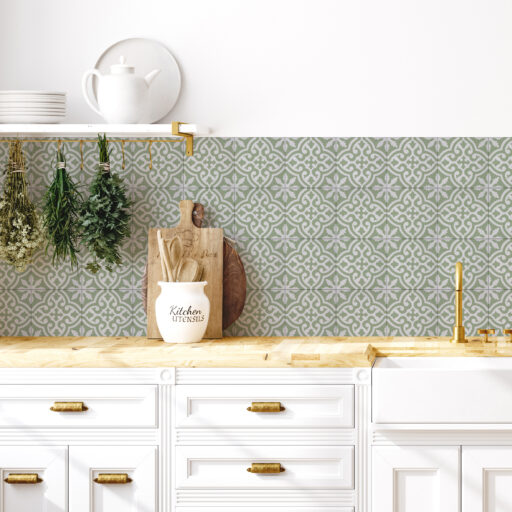
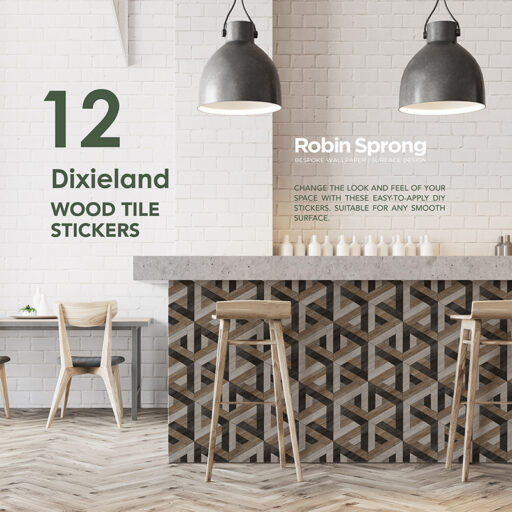
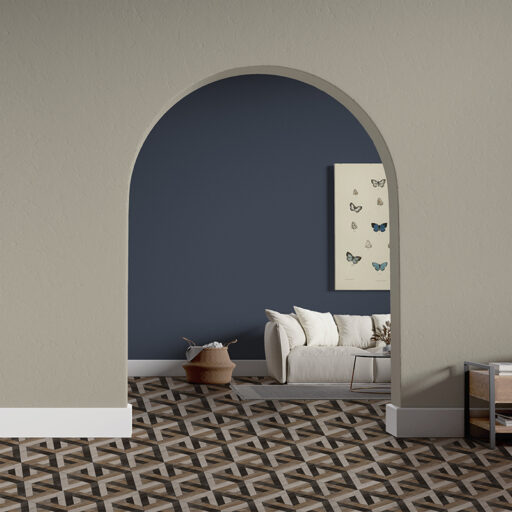
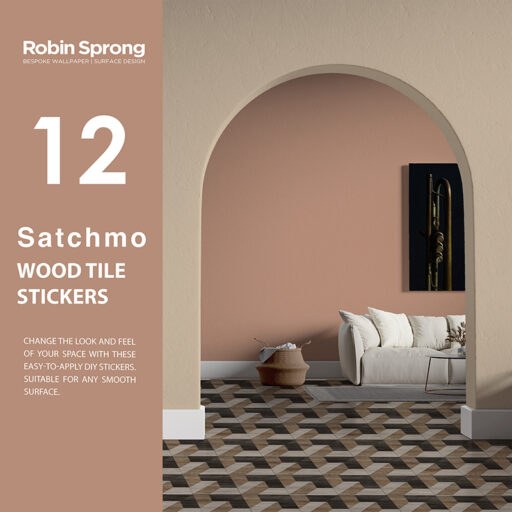
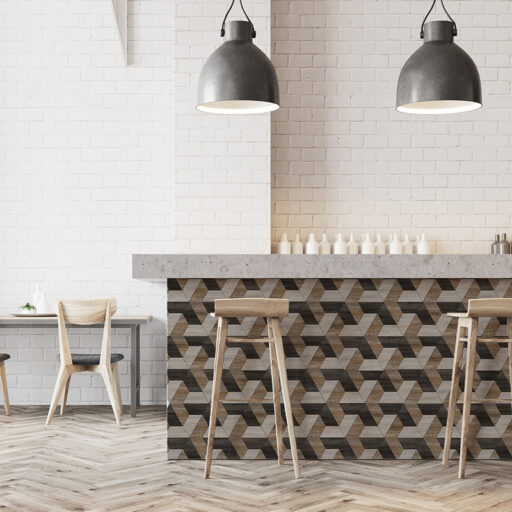
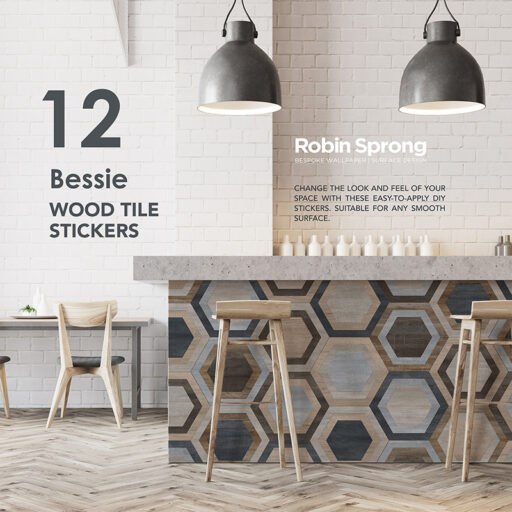
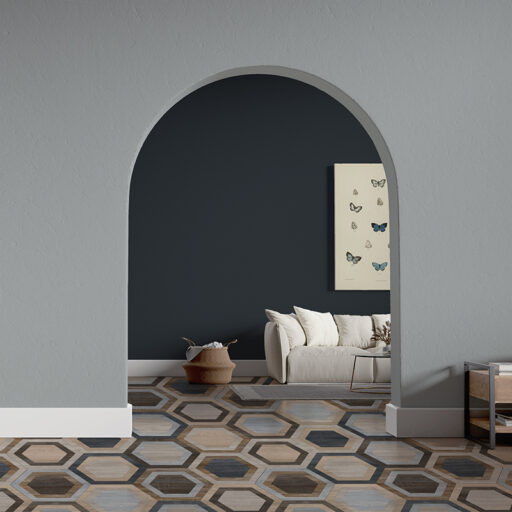
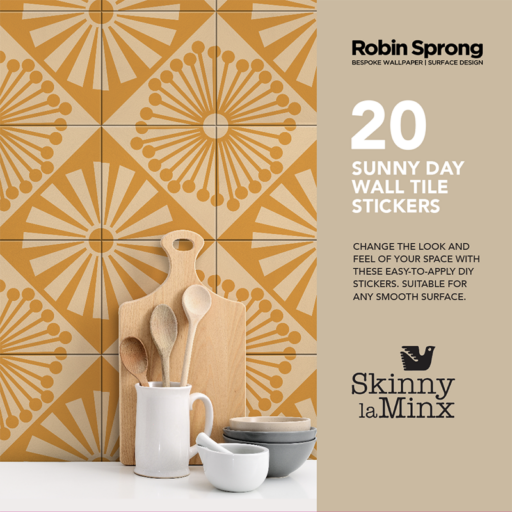
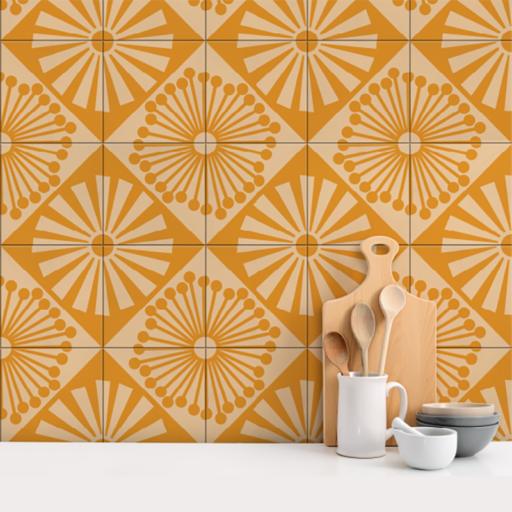
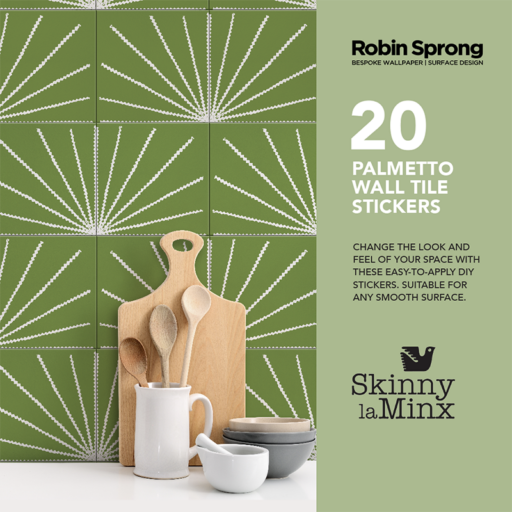
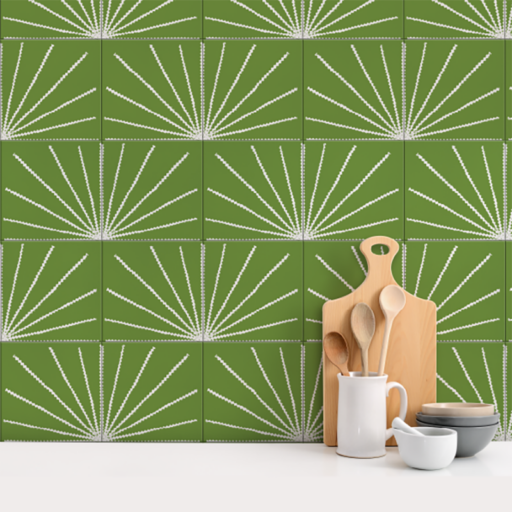
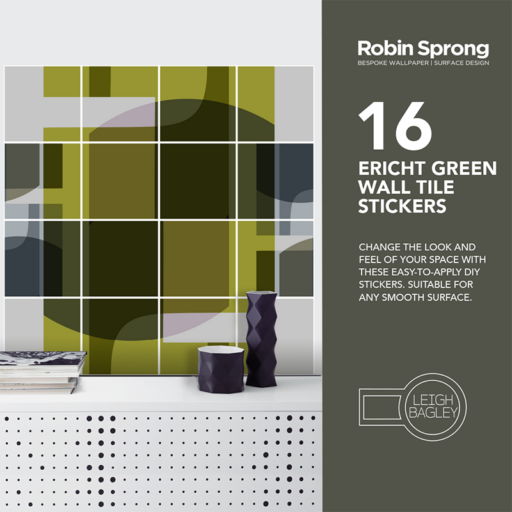
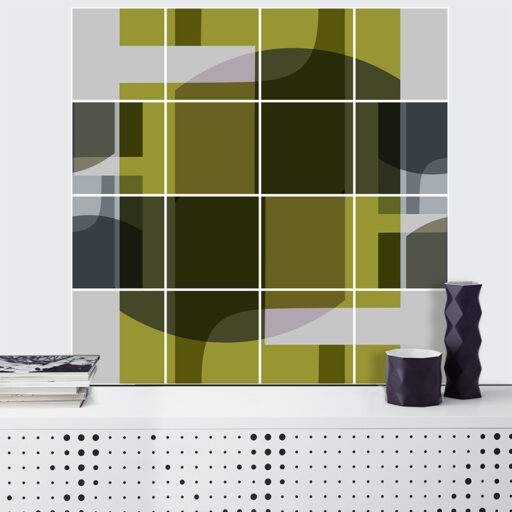
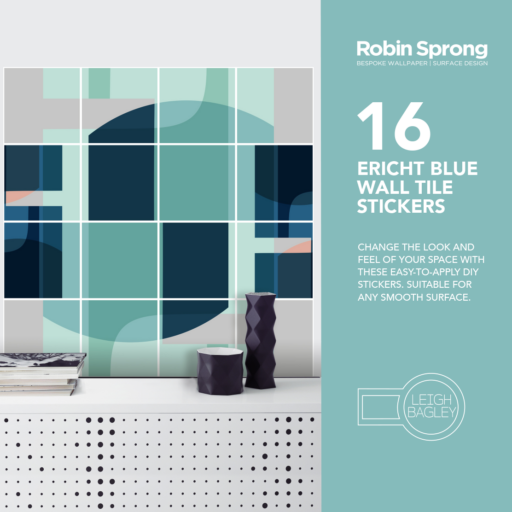
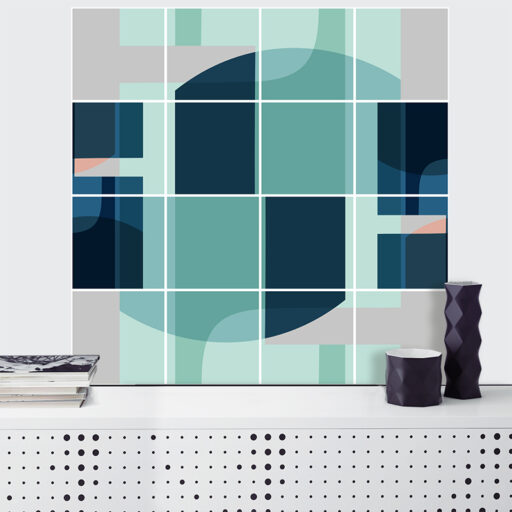
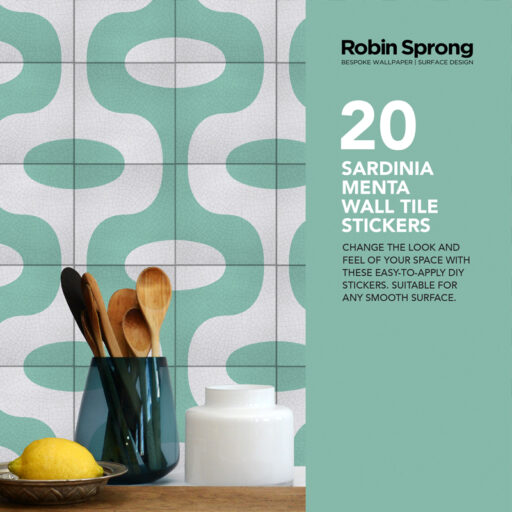
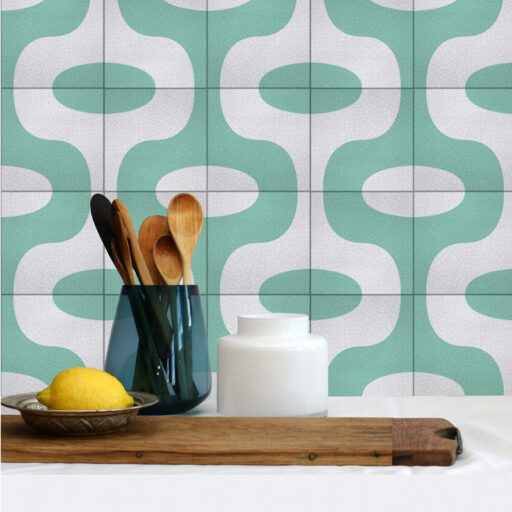
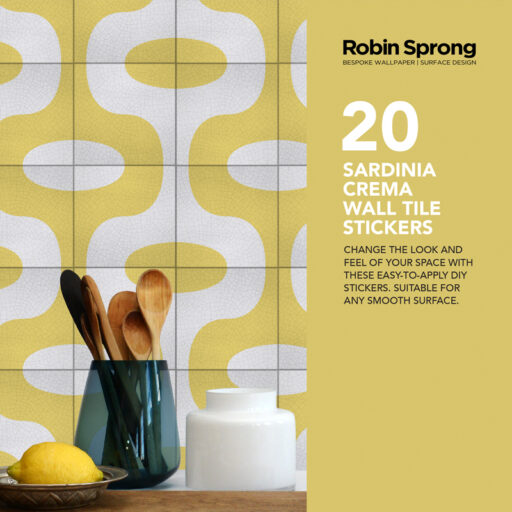
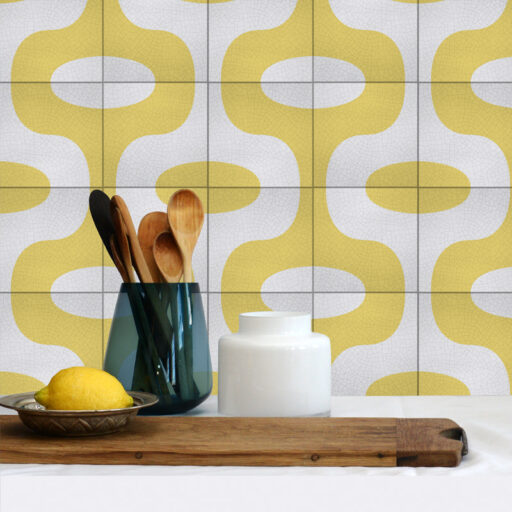
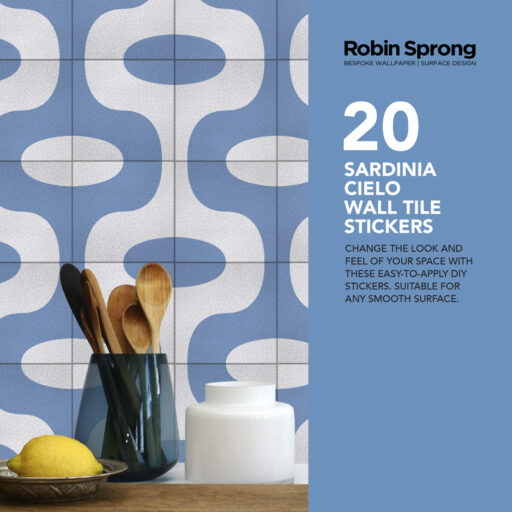
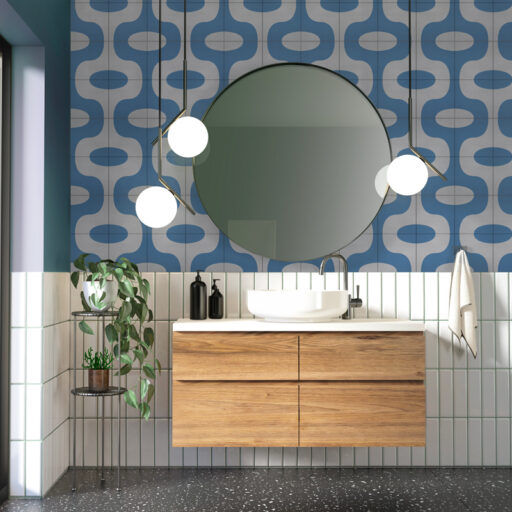
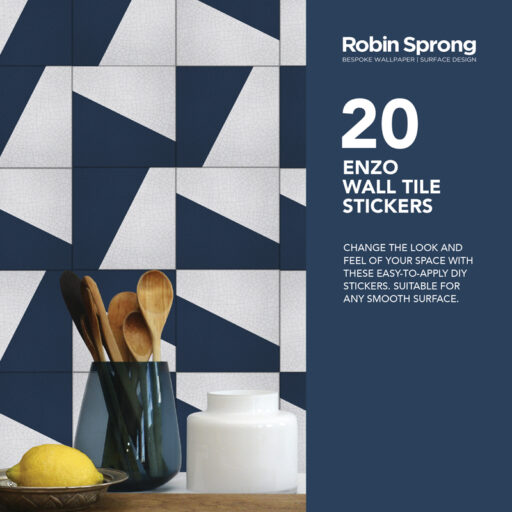
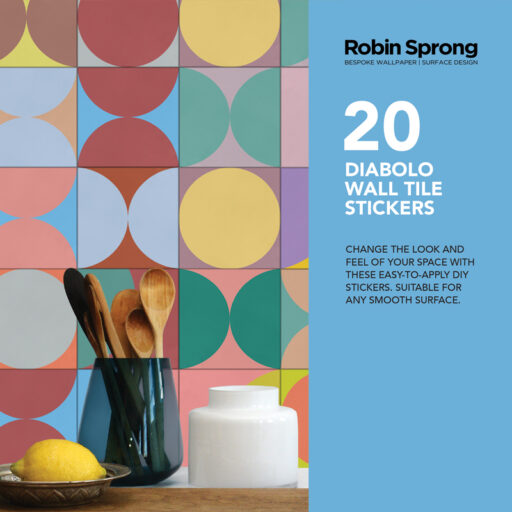
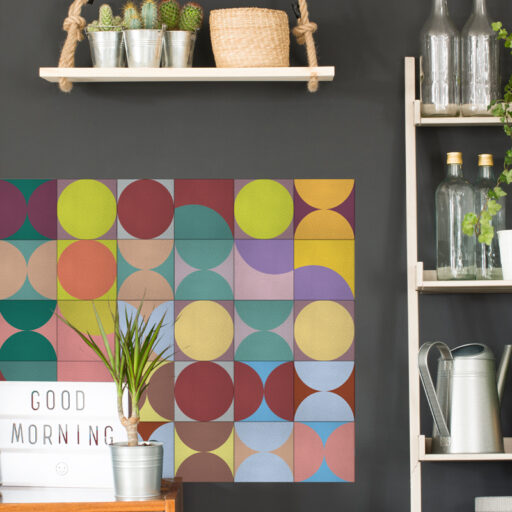
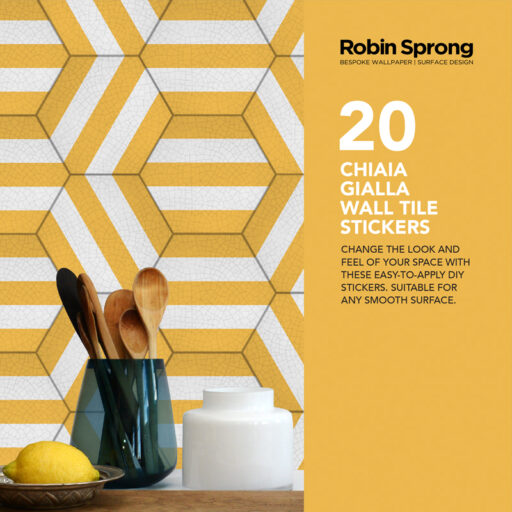
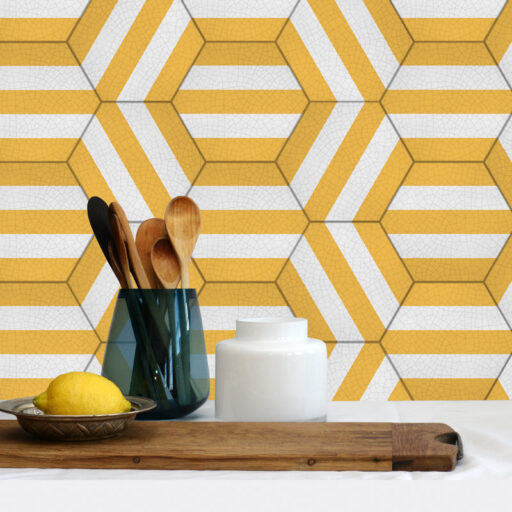
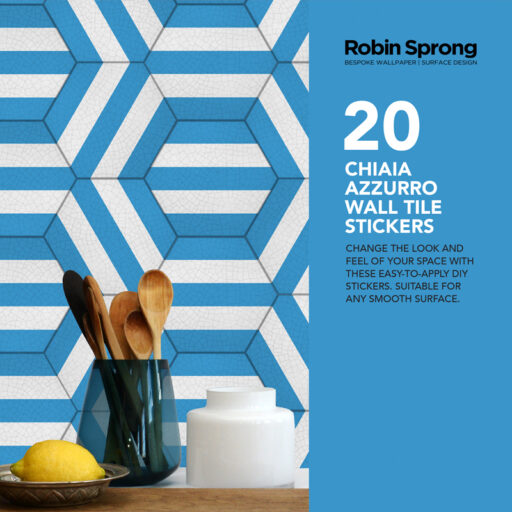
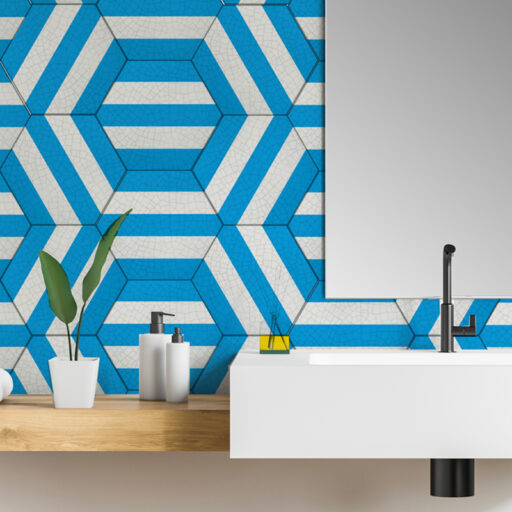
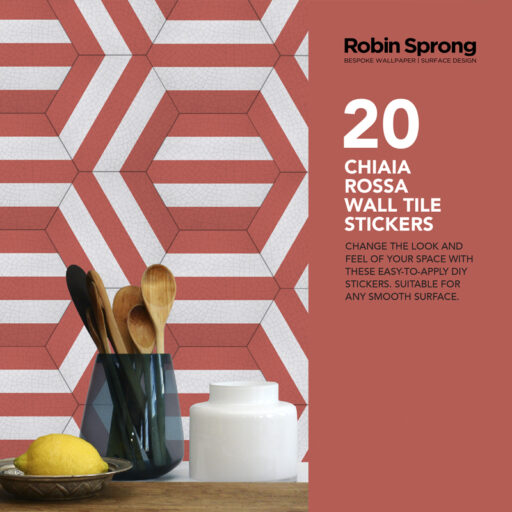
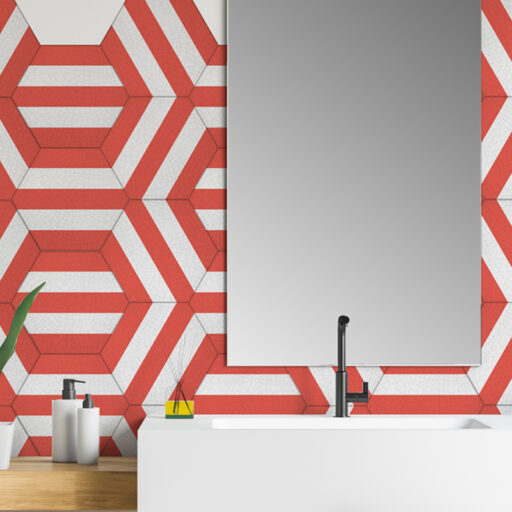
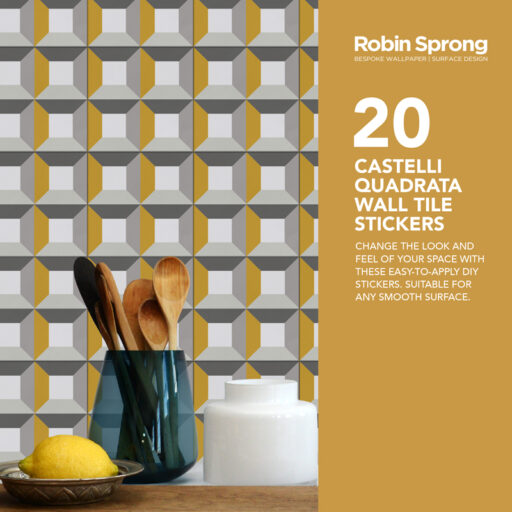
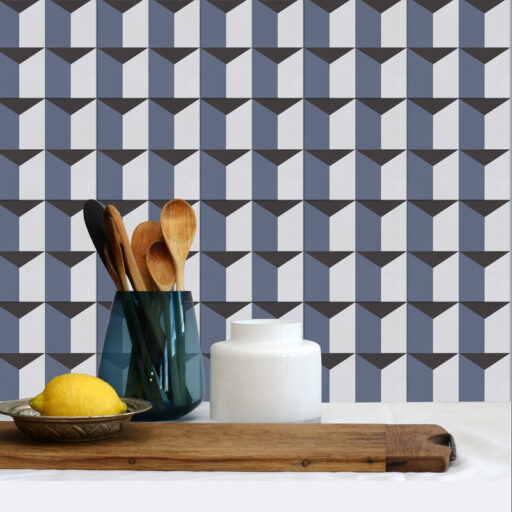
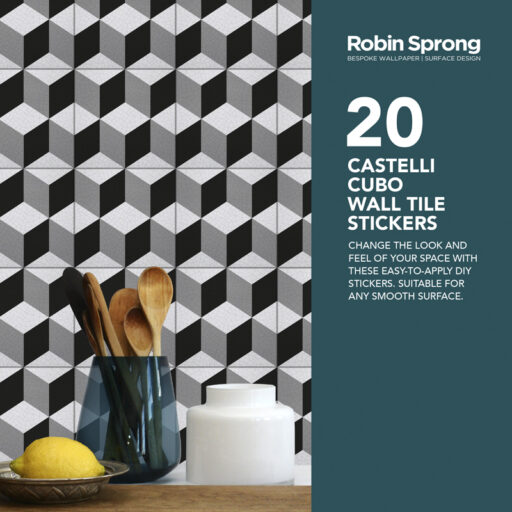
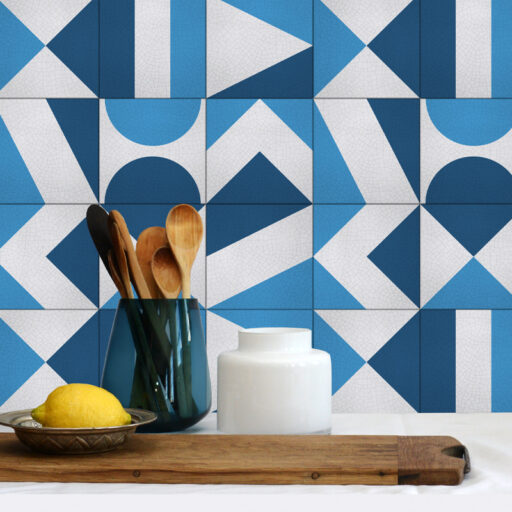
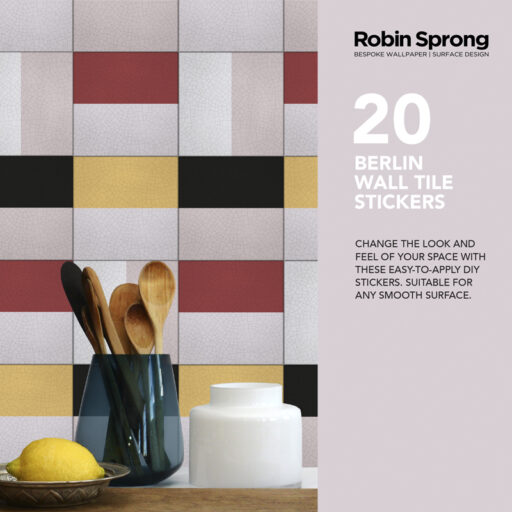
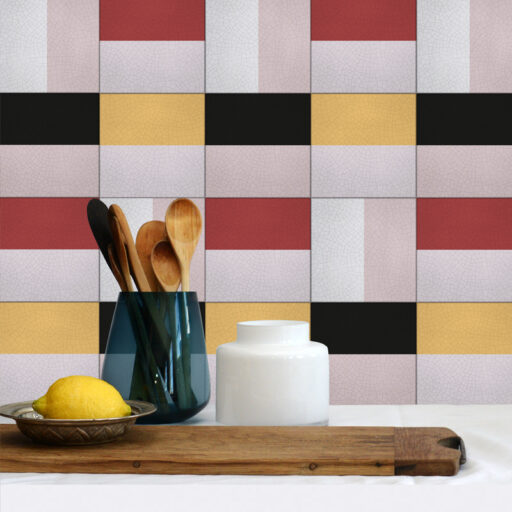
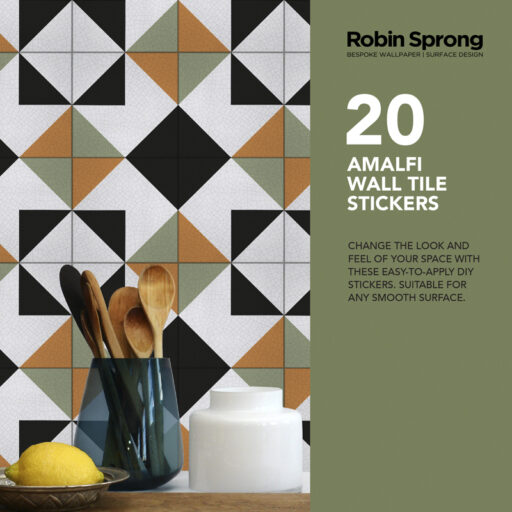
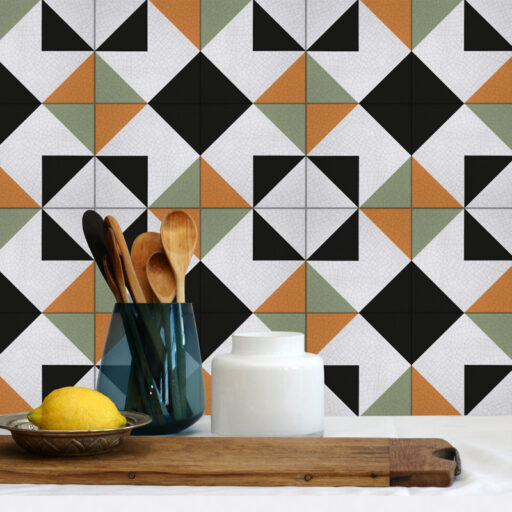
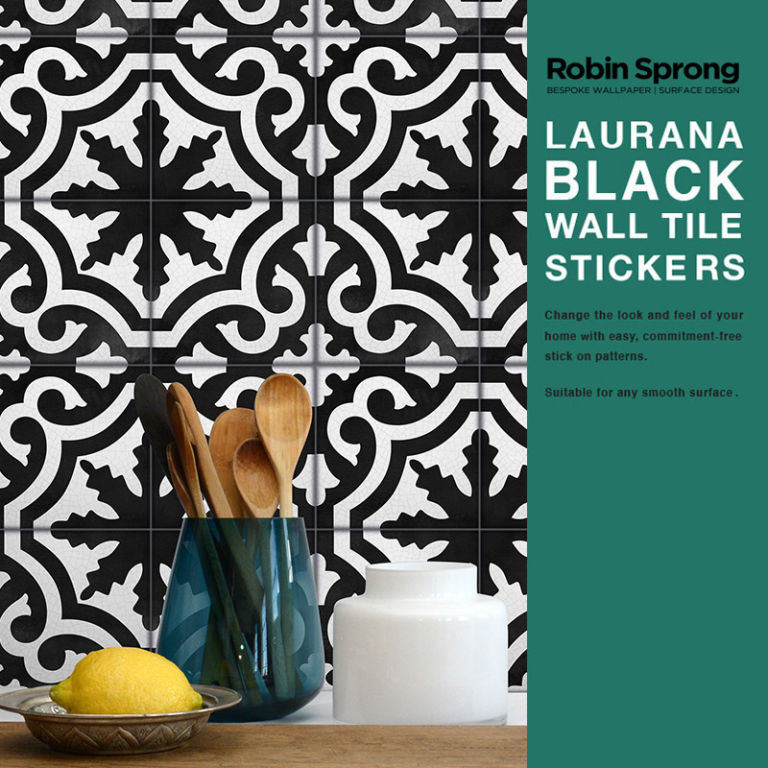
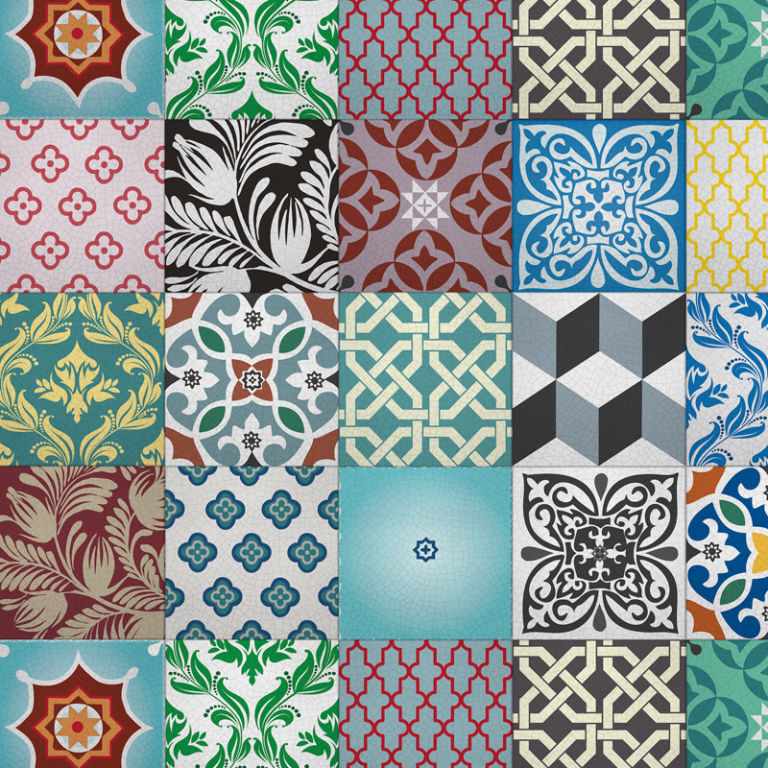
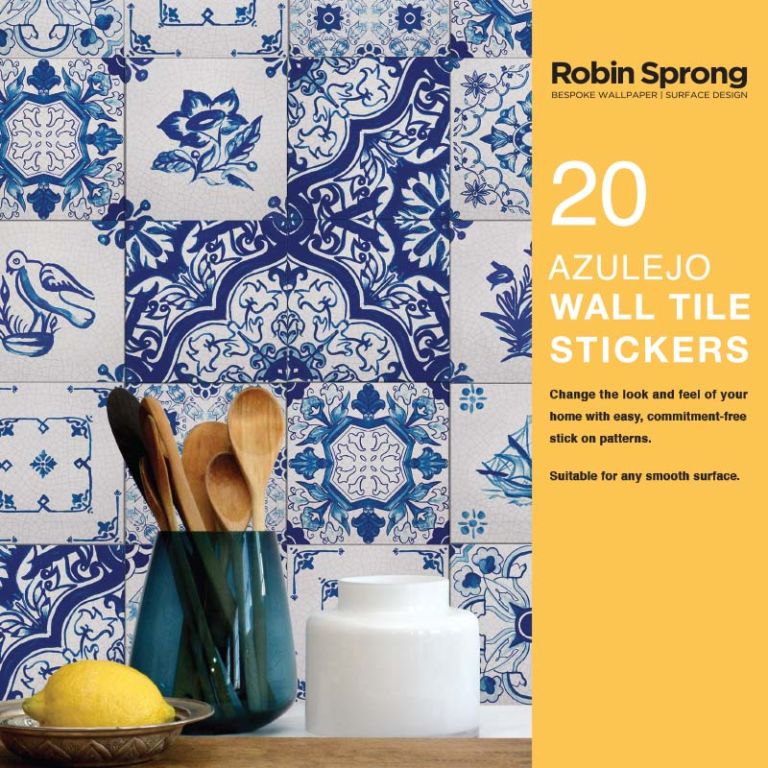
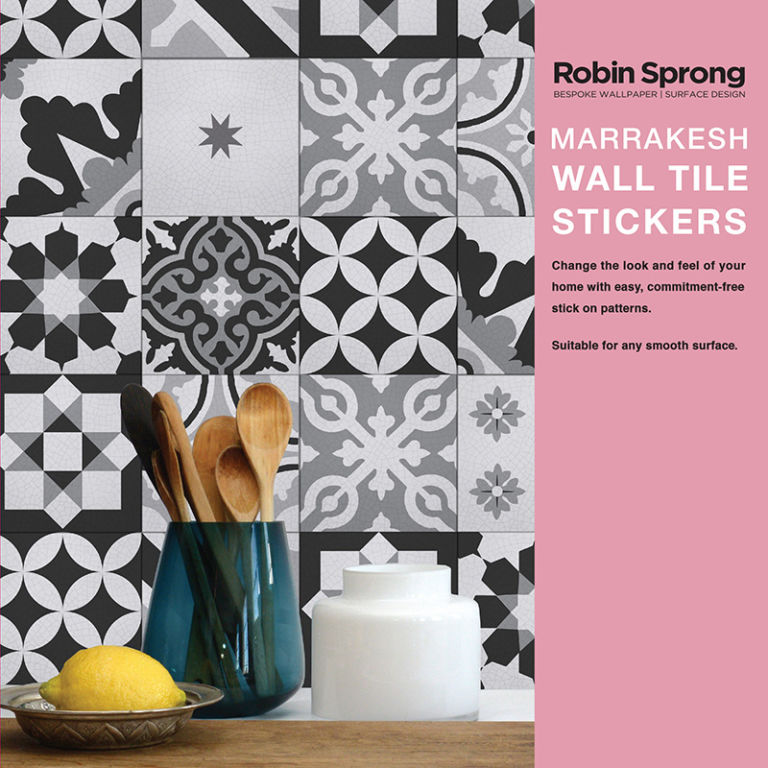
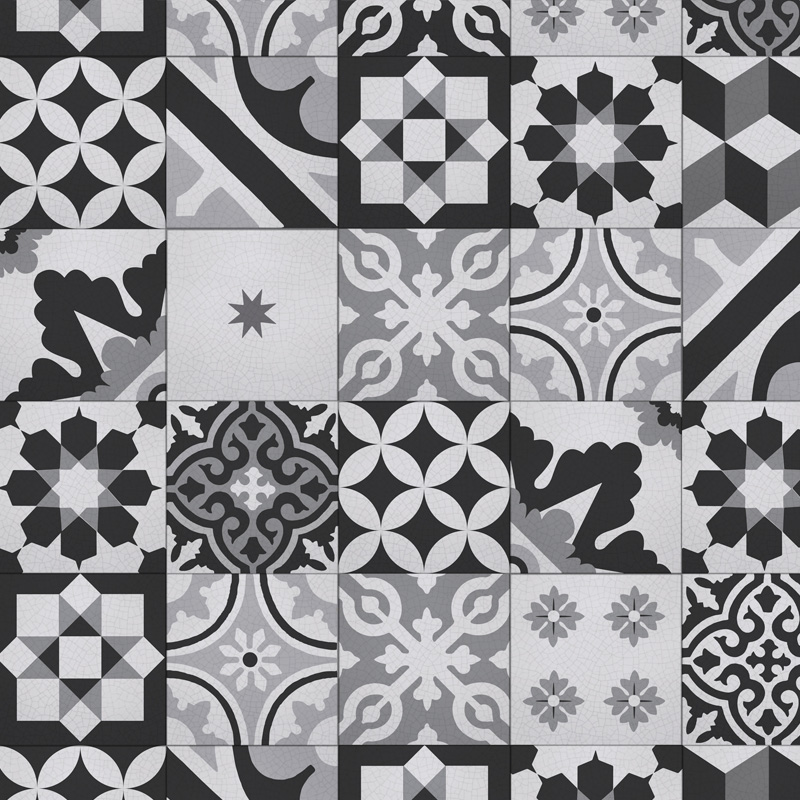
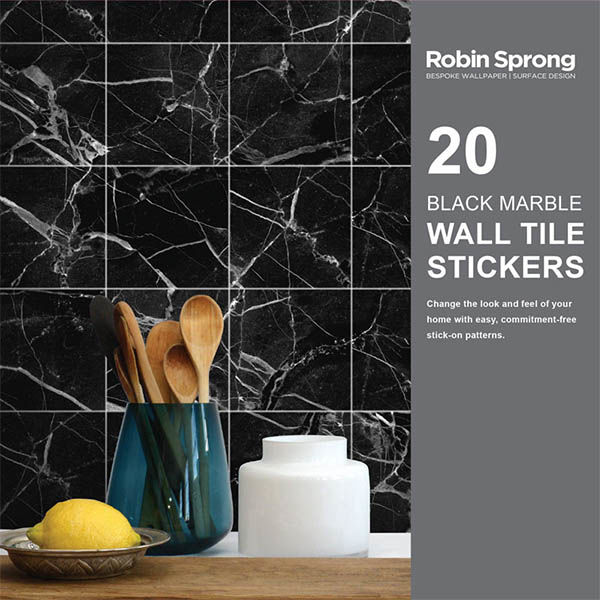
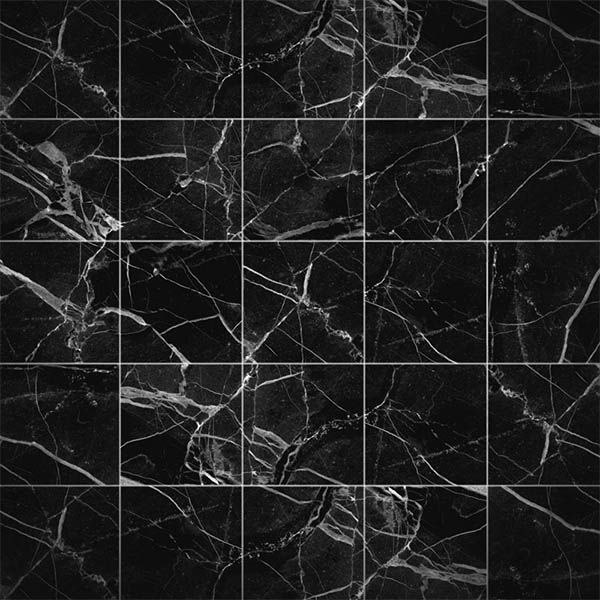
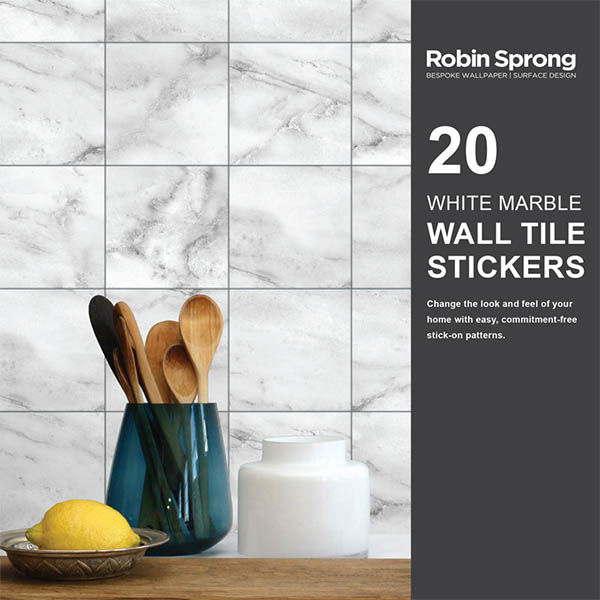
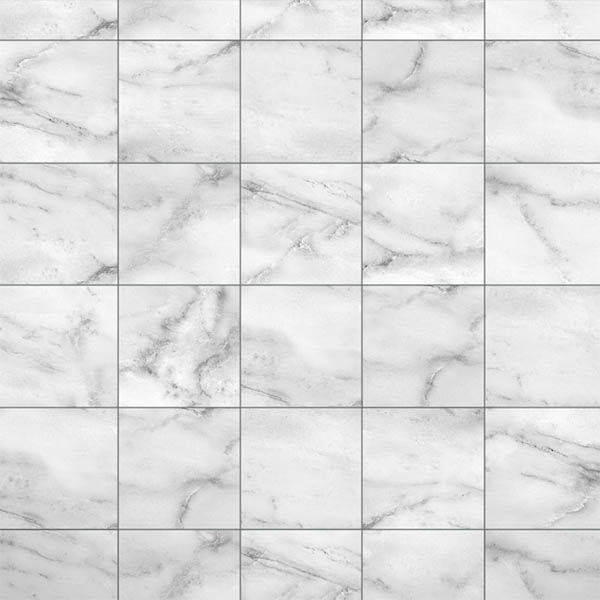
Welcome To Our Wall Tile Sticker Shop
Wall Tile Stickers
Wall Tile Stickers
Wall Tile Stickers
Wall Tile Stickers
Wall Tile Stickers
Wall Tile Stickers
Wall Tile Stickers
Wall Tile Stickers
Wall Tile Stickers
Wall Tile Stickers
Wall Tile Stickers
Wall Tile Stickers
Wall Tile Stickers
Wall Tile Stickers
Wall Tile Stickers
Wall Tile Stickers
Wall Tile Stickers
Wall Tile Stickers
Wall Tile Stickers
Wall Tile Stickers
Wall Tile Stickers
Wall Tile Stickers
Wall Tile Stickers
Wall Tile Stickers
Wall Tile Stickers
Wall Tile Stickers
Wall Tile Stickers
Wall Tile Stickers
Wall Tile Stickers
Wall Tile Stickers
Wall Tile Stickers
Wall Tile Stickers
Wall Tile Stickers
Wall Tile Stickers
Wall Tile Stickers
Wall Tile Stickers
Wall Tile Stickers
Wall Tile Stickers
Wall Tile Stickers
Wall Tile Stickers
Wall Tile Stickers
Wall Tile Stickers
Wall Tile Stickers
Wall Tile Stickers
Wall Tile Stickers
Wall Tile Stickers
Wall Tile Stickers
Wall Tile Stickers
Wall Tile Stickers
Wall Tile Stickers
Wall Tile Stickers
Wall Tile Stickers
Wall Tile Stickers
Wall Tile Stickers
Wall Tile Stickers
Wall Tile Stickers
Wall Tile Stickers
Wall Tile Stickers
Wall Tile Stickers
Wall Tile Stickers
Wall Tile Stickers
Wall Tile Stickers
Wall Tile Stickers
Installation Instructions
Ensure that the surface is smooth for optimal end-result (textured or mottled surfaces may show up behind the tile stickers and may effect the tractability of the stickers).
For optimal tact, ensure surface is dust and grease-free. Surfaces can be cleaned with a weak dishwashing liquid solution or alcohol cleaning solution before installation.
Some painted surfaces (for e.g. chalk paint, water resistant paints and oil based painted surfaces) may resist the sticker.
Vinyl does not adhere to silicone.
RSW cannot be held liable for any surface preparation.
Separate the backing paper at the top end and fold back.
Line up your sticker in place, you can use masking tape to secure it.
Re-check the position of the sticker and start by sticking down the exposed section of the sticker.
Now pull the backing paper down with your one hand while rubbing it down with a squeegee with your other hand onto the surface. You can also just use your hand or anything flat, but ensure that it does not have a hard surface as this may scratch the vinyl.
Work outwards to ensure a bubble-free application.
Use a pin to prick out air bubbles and rub it out.
PLEASE NOTE: ensure that corners are stuck down properly from the beginning to prevent corners from lifting at a later stage.
Once dust gets in, your sticker will not stick down. If the surface is beveled, you can cut the sticker down to size by using a project blade.
Should the edge of a decal not stick onto a beveled edge, dampen the area and secure the sticker down with masking tape.
Allow to dry for about 2 hours then slowly remove masking tape.
Although vinyl is suitable for kitchen and bathroom environment use, ensure that this surface is not exposed to excessive steam and water.
Keep the area dry.
Prevent hot oil spills behind splash backs and wipe down lightly with damp cloth.
Should your decals become heavily soiled, use a mild soapy solution and soft damp cloth to wipe clean.
Q Can I use stickers on a different size tile?
A Yes, you can use your current grouting as a reference and space the stickers evenly to create a ‘grouted’ look.
The splash backs on our website were both created installing 15x15cm stickers over 30x20cm sizes tiles.
Q How water proof is vinyl?
A Our vinyl stickers are waterproof, ensure you follow our application instructions for maximum longevity. We have had great success using stickers on various surfaces outdoors.
Q Can I apply my stickers onto walls?
A Yes, as long as the surface area is not too bumpy. Vinyl is designed for smooth surfaces. The smoother the surface, the better the grip.
Q Can vinyl be removed after use?
A Yes. In normal circumstances it can be easily removed from glass, tiles or other smooth surfaces. Various factors like temperature (sun exposure), surface attributes or time may all contribute to a more permanent bond of vinyl, if this is the case, one can use glue removing chemicals to remove glue residue. There are products on the market, but ensure you test this on a small area first to avoid damaging the original surface.
If removed from wall, you may need to re-paint the surface, depending on the original paint quality.
Some of our vinyl products are reposition able and can be removed without any damage within a 1-6 month period, depending on the surface it is applied to
Q Can I reuse my vinyl stickers?
ARemoving and reusing is nearly impossible because the adhesive is no longer sticky and many times, the vinyl can tear or be stripped.
Q How long will my stickers last?
A Anywhere between 3 months and 3 years, depending on where and how it is installed and how it is cared for.
Our vinyl is not an outdoor grade vinyl and is meant for indoor use only (although we have used it outdoors to test it, we don’t recommend it for outdoor use). Prolonged exposure to sun may also cause vinyl to disintegrate over time.
HINT: Experiment with various combinations of designed packs to create your own style.
HINT: Cut tiles into shapes like triangles and scatter patterns, or cut to rectangular shapes to create a ‘subway’ style tile.
HINT: Use only a couple of tiles to create accents on every few tiles. One could also use tiles to create an edging on the top or bottom row of tiles. Cut tiles in strips for thinner edging.


