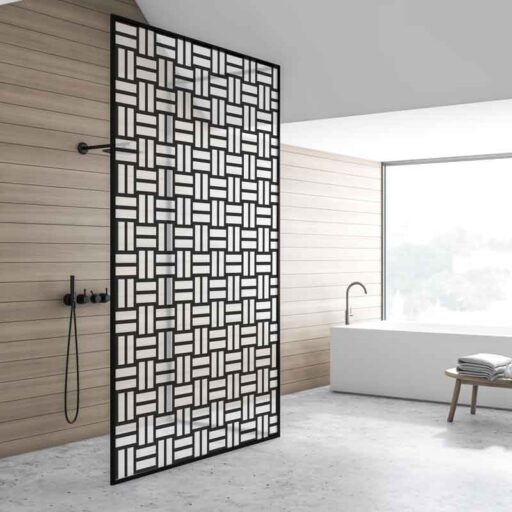
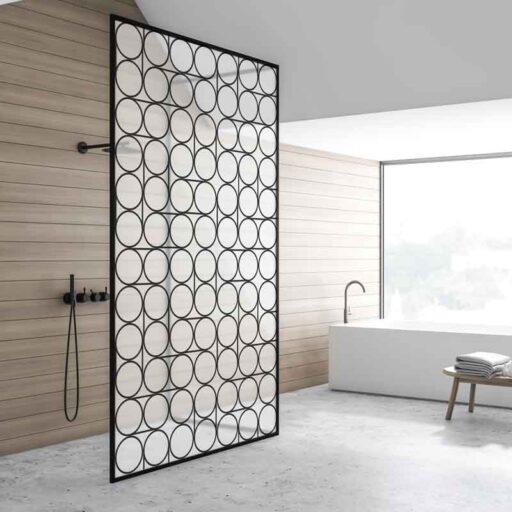
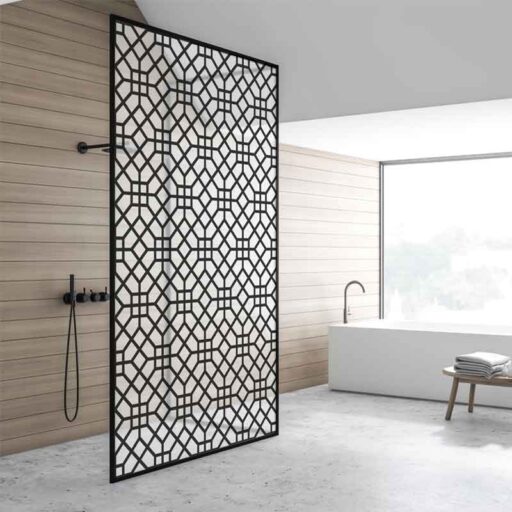
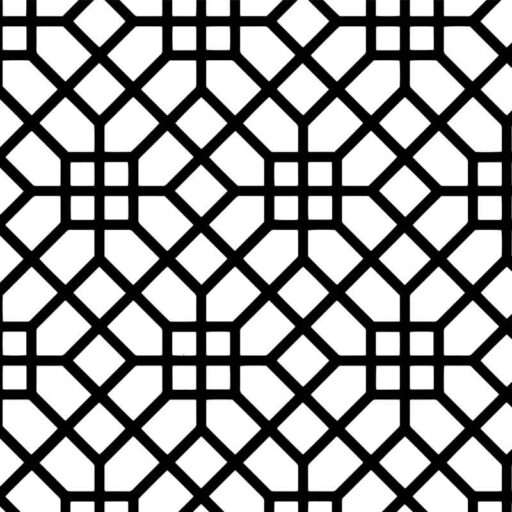
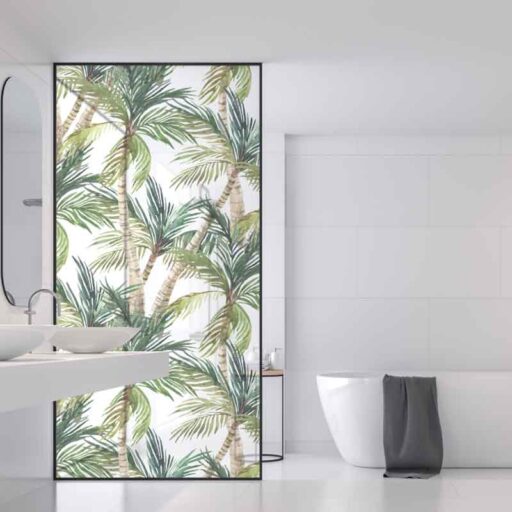
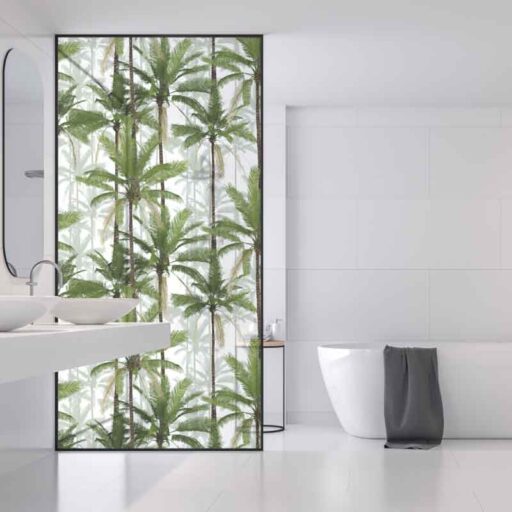
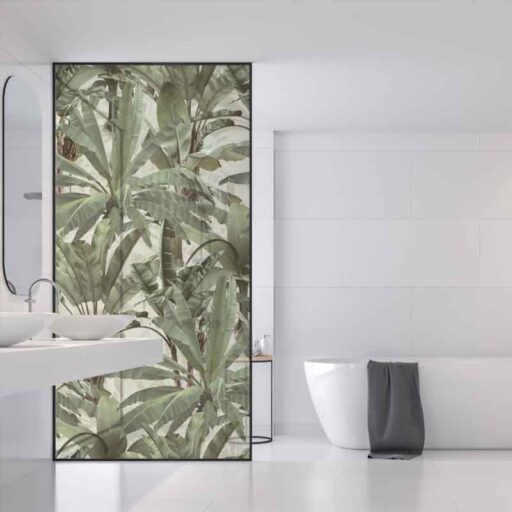
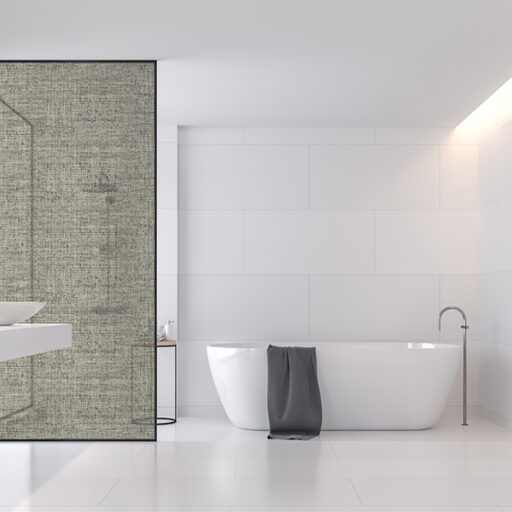
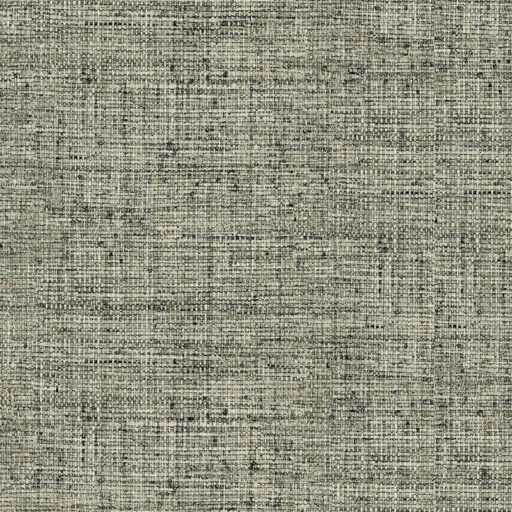
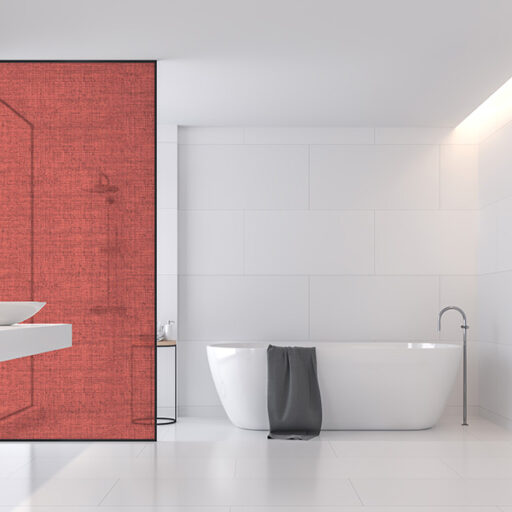
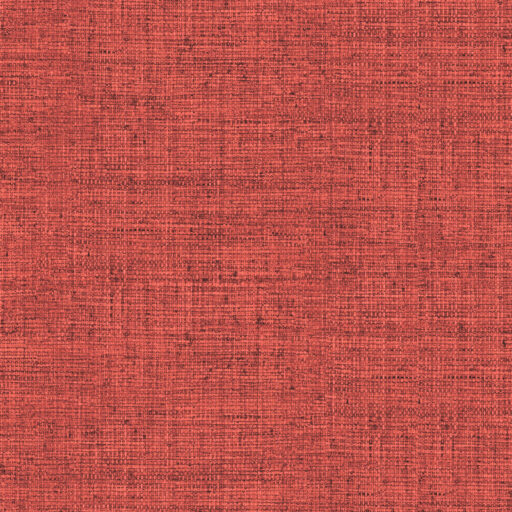
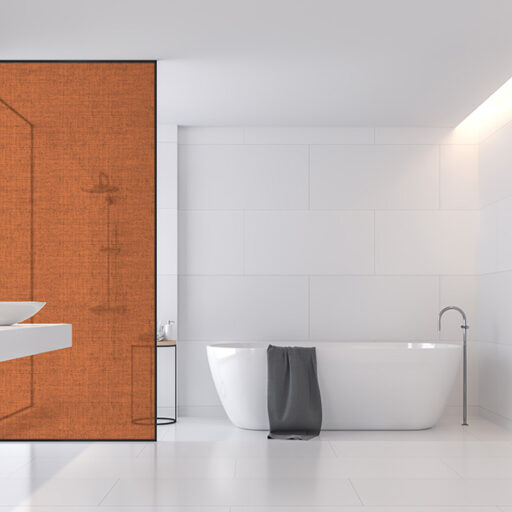
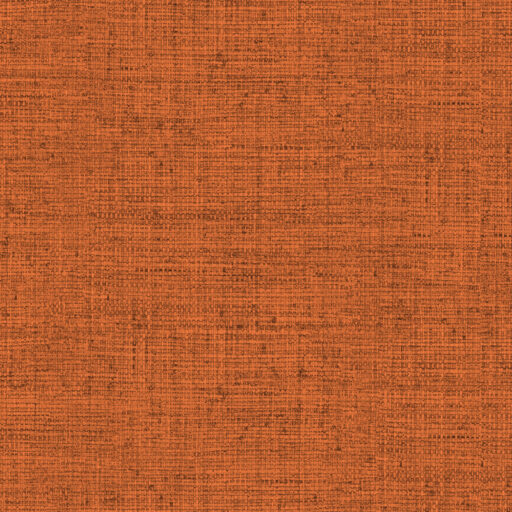
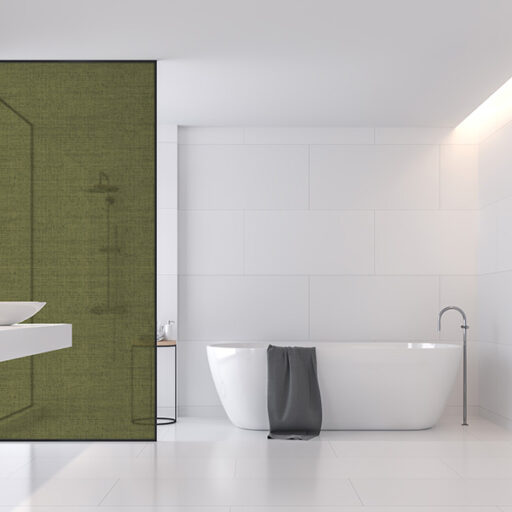
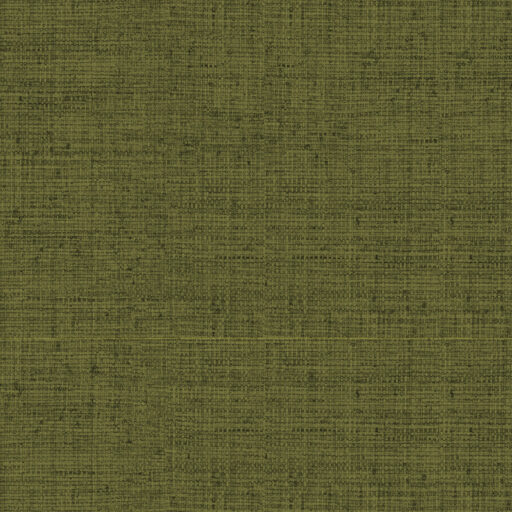
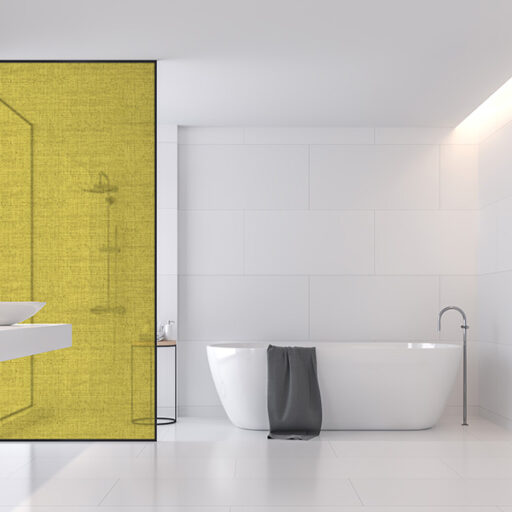
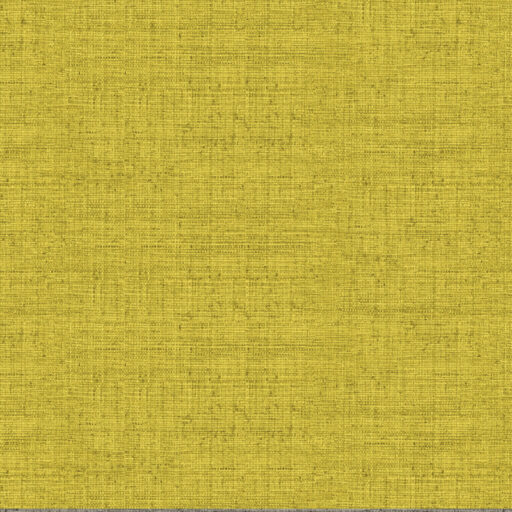
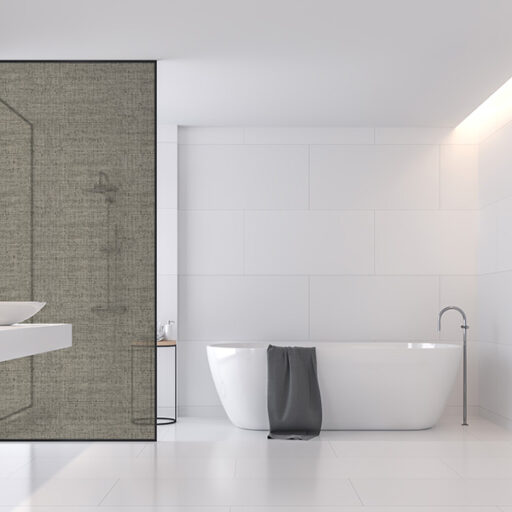
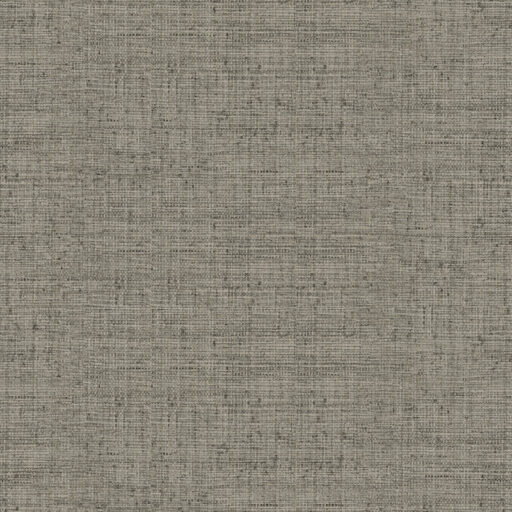
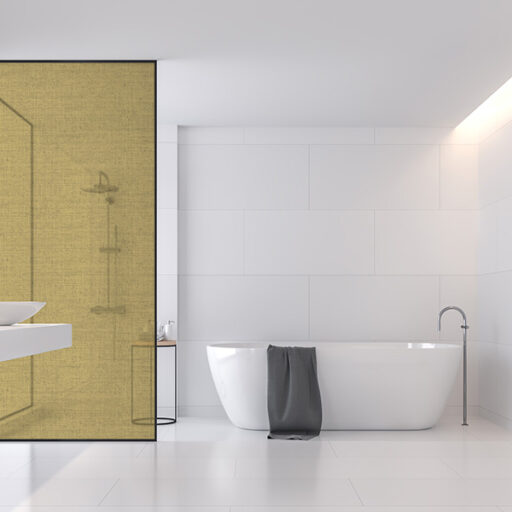
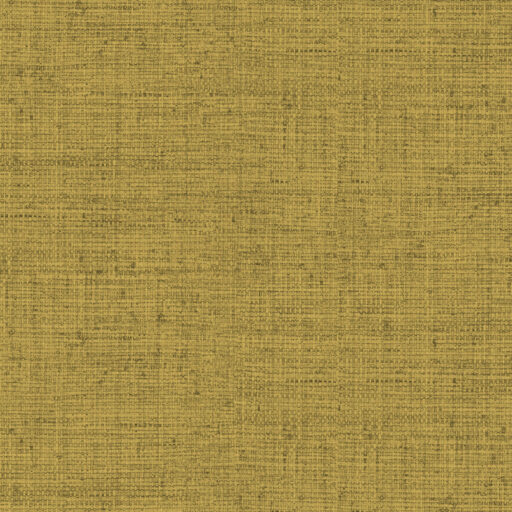
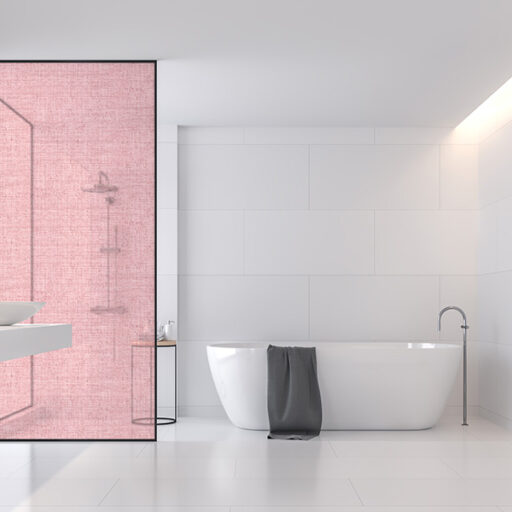
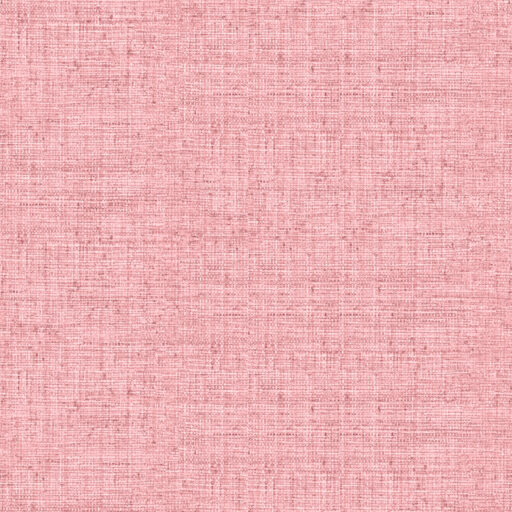
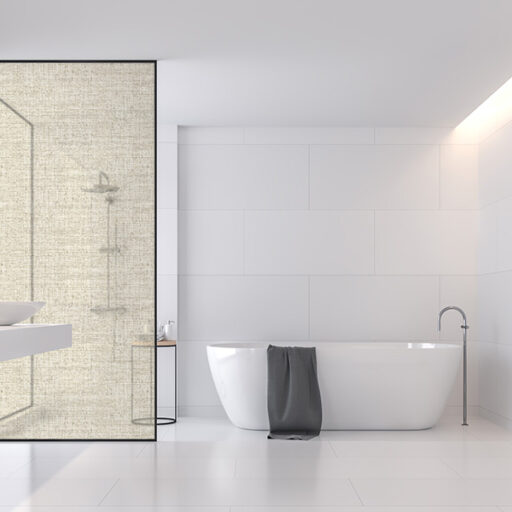
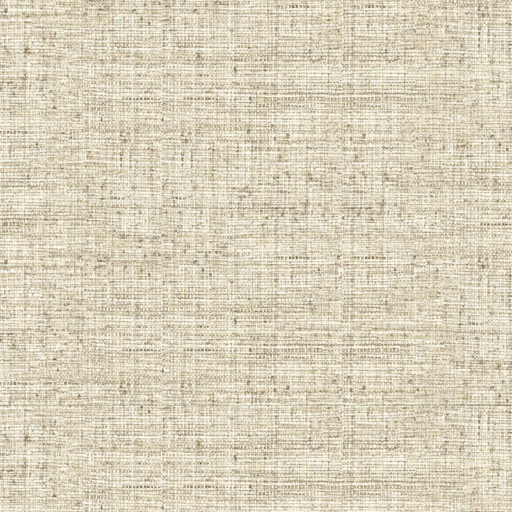
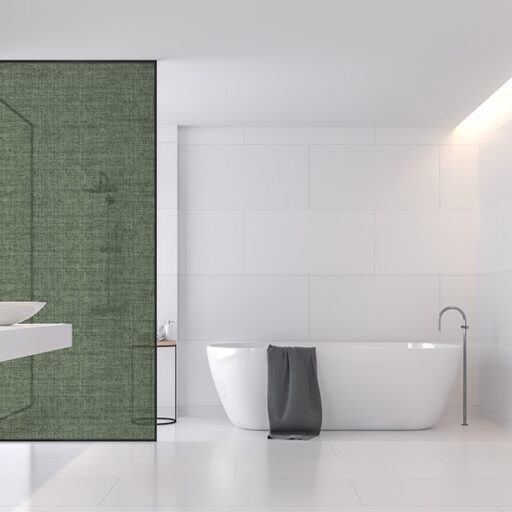
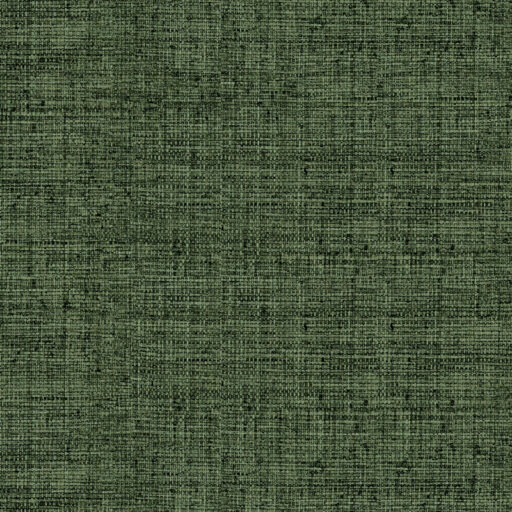
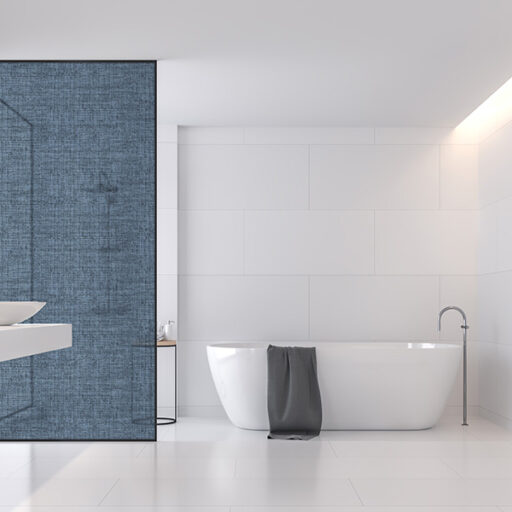
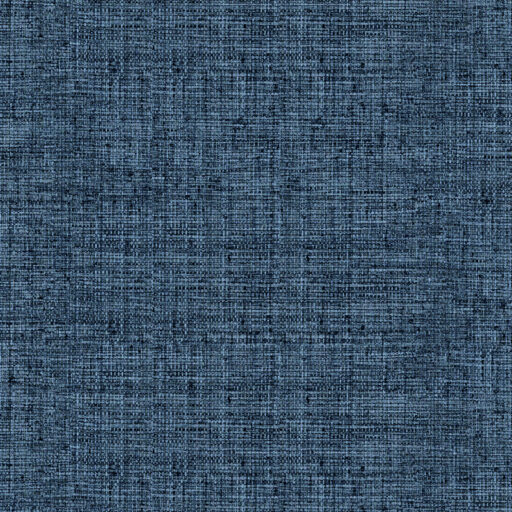
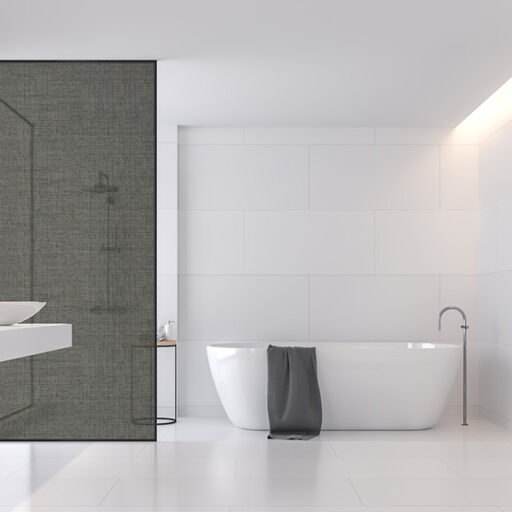
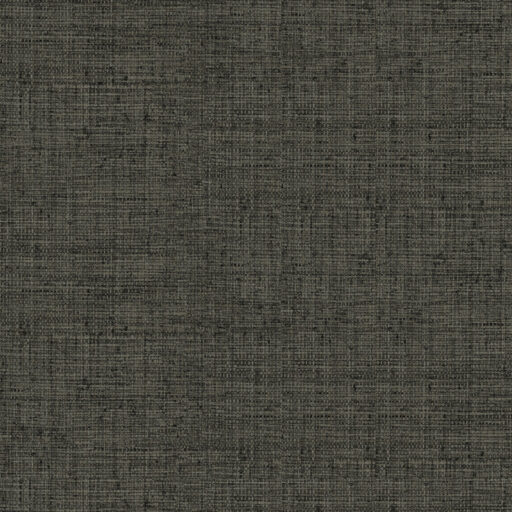
Our new range of Shower Panel Vinyls in collaboration with Tiletoria are ideal for adding original decor to your bathroom. Select any of our designs or create one of your own and we will custom print any image of your choice.
Check Out Our Shower Panel Vinyl Designs
Shower Panel Vinyls
R1,250
Shower Panel Vinyls
R1,250
Shower Panel Vinyls
R1,250
Shower Panel Vinyls
R1,250
Shower Panel Vinyls
R1,250
Shower Panel Vinyls
R1,250
Shower Panel Vinyls
R1,250
Shower Panel Vinyls
R1,250
Shower Panel Vinyls
R1,250
Shower Panel Vinyls
R1,250
Shower Panel Vinyls
R1,250
Shower Panel Vinyls
R1,250
Shower Panel Vinyls
R1,250
Shower Panel Vinyls
R1,250
Shower Panel Vinyls
R1,250
Shower Panel Vinyls
R1,250
Shower Panel Vinyls
R1,250
Shower Panel Vinyls
R1,250
Shower Panel Vinyls
R1,250
Before getting started:
- For optimal results, ensure that the surface is dust and grease free before installation. This can be achieved by first using an alcohol cleaning solution on the surface, followed by a dishwashing liquid to clean away the spirits or any remaining oil residue.
- RSW cannot be held liable for any surface preparation.
- We recommend that at least two people are involved with the installation of this product.
- We suggest you seek professional assistance with the installation to ensure a perfect end result.
How-To Guide:
Our shower vinyl stickers require a wet method of application. This allows you to correctly position the sticker, push out any bubbles, and avoid creases in the vinyl. All you need is 5ml of dishwashing liquid to 5L of water in a spray bottle.
-
- Once your surface is prepped and clean, start from the top end and peel off the backing paper of the vinyl. Carefully lay it on a flat surface with the right side facing down.
- Using a spray bottle, generously apply the soapy water solution to both the glass surface and the back of the vinyl. Make sure that both surfaces are properly wet so that you will have time to correctly position the vinyl before it securely sticks.
- Position the sticker in place starting from the top end down.
- When you are happy with its position, spray another coat of soapy water over the vinyl and then use a water squeegee or window cleaner (something with a rubber edge) to push the water out from behind the vinyl and ensure a bubble free application.
- Work from the top down and from the centre outwards for best results.
- Repeat this process at least three times to ensure that all of the water is properly squeegeed out from behind the vinyl.
- Use a pin to prick out any air bubbles and rub them out.
- Once all the water is removed from behind the sticker, use a heat gun to secure the edges and corners down. If you do not have a heat gun, you can alternatively use a hairdryer. This prevents the vinyl from lifting at a later stage.
- When your edges are down and secure, use a NT cutter to trim away any excess vinyl.
- Et Voila! Your shower vinyl sticker installation is complete.
Caring for your stickers:
- Although vinyl is suitable for bathroom environment use, ensure that this surface is not repetitively exposed to water.
- Wipe dry with soft cloth when wet.
- Keep area dry and use a soft damp cloth to wipe clean.
- Prolonged exposure to sun may also cause vinyl to disintegrate over time.
- Avoid hanging towels or any other items over the shower vinyl, as this may cause accelerated wear and tear.


